Connecting to research computing resource from off-campus requires one of two approaches:
Approach One – Syracuse University Remote Desktop Services (RDS)
Syracuse University’s Remote Desktop Services (RDS) is a virtual desktop environment for students, faculty, and staff to remotely access a university desktop from any personal computer with a stable broadband internet connection.
Complete details, including configuration instructions for both web interface and via a remote desktop (RDP) connection, are available on the Syracuse University Remote Desktop Services page. If you know how to connect already, feel free to go directly to rds.syr.edu.
Once connected to the University’s RDS system, you can then initiate your Condor connection via SSH.
Approach Two – Google Two Factor and A bastion Host
(The Research Computing team will recommend this approach if required.)
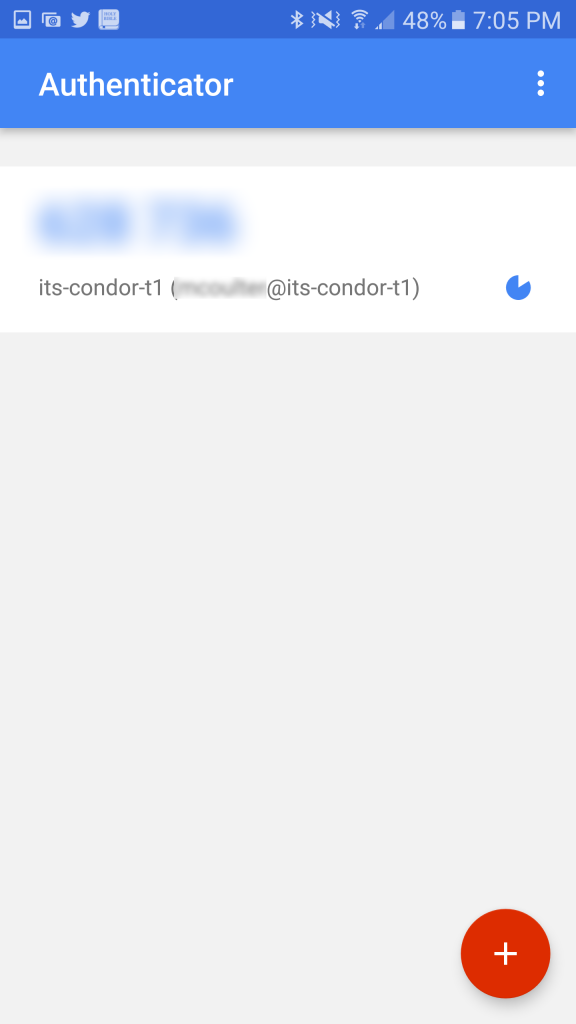
Google Authenticator provides a two-step authentication procedure using one-time passcodes (OTP). The OTP generator application is available for common mobile platforms such iOS and Android. Each can be downloaded from their respective stores.
To log into Condor you must first set up Google Authenticator.
1) If not already installed, download/install the Google Authenticator application from the application store (Apple) or Google play (Android)
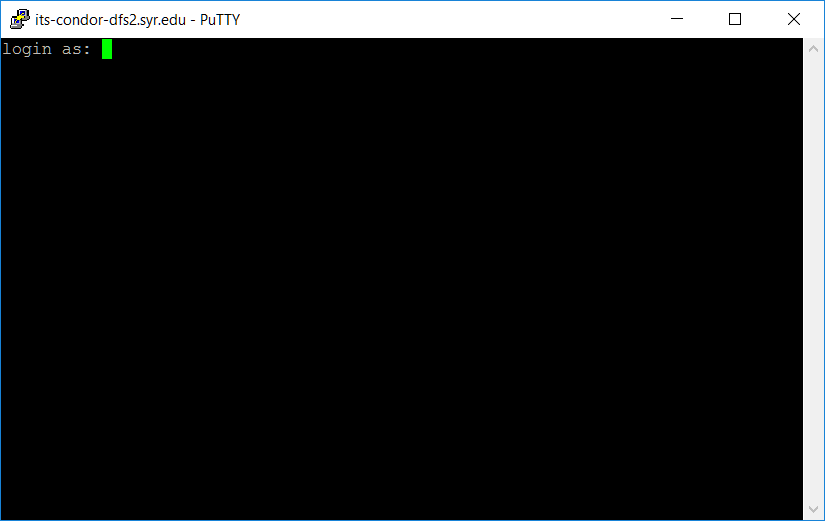
2) Use your SSH client to connect to its-condor-t1.syr.edu. If you need to download a SSH client PuTTY is a good option for Windows and Unix. PuTTY can be downloaded from here. Apple user can use the built-in application called Terminal.

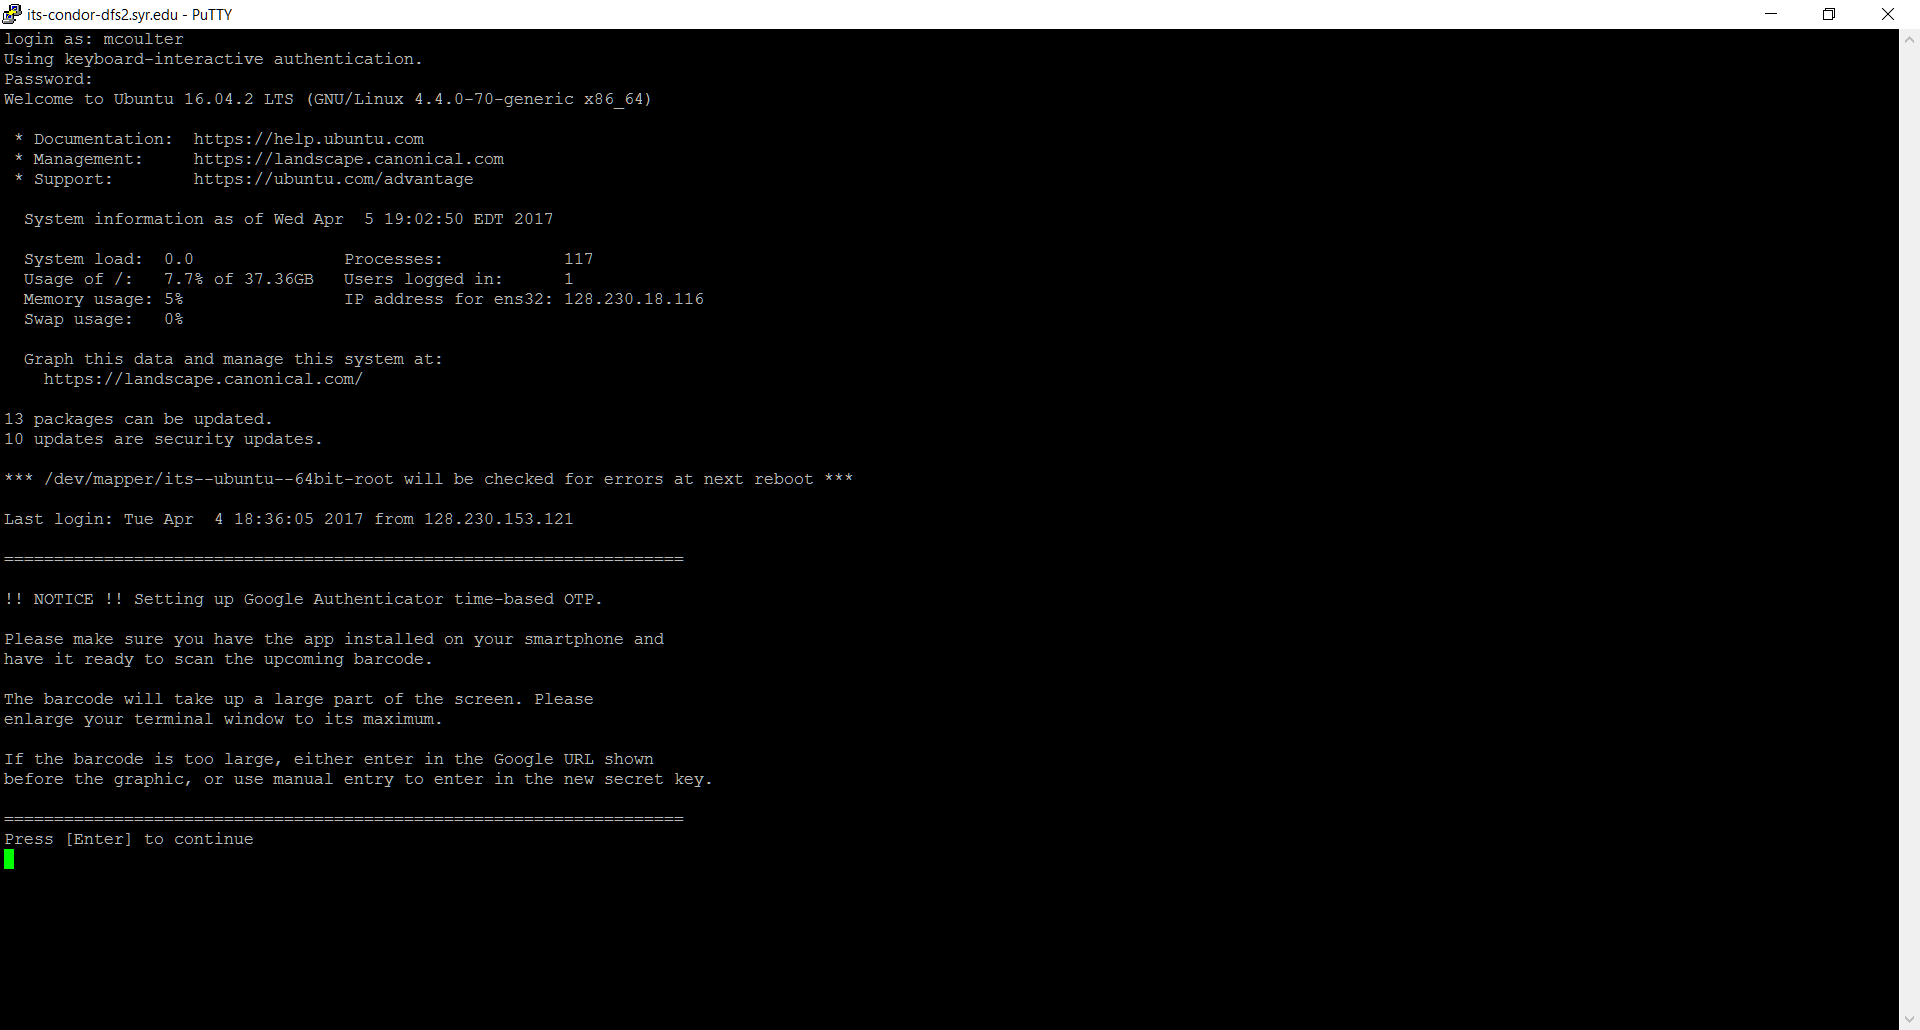
3) Maximize your SSH window (you will a big window to display a QR code that you will scan through the Google Authenticator application).
4) When prompted use your SU NetID and password to login.
5) It will display a basic instruction set for setting up your 2 factor authentication and then wait at a prompt before continuing – AGAIN BE SURE TO MAXIMIZE the SSH session window before you go to the next step to make sure the barcode will be fully displayed on the screen.
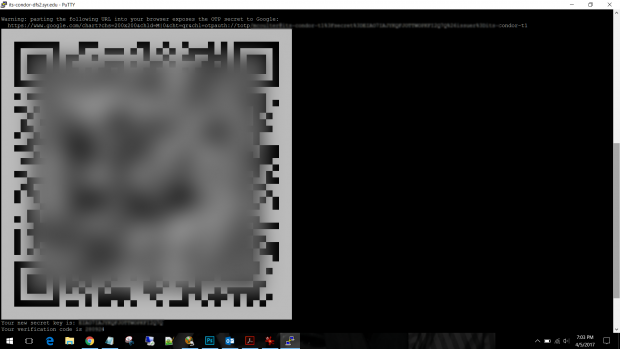
6) Once you continue it will display a key and barcode – use Google Authenticator Application you installed in step to scan the barcode or enter the key.
7) This should log you in successfully, on the subsequent logins, you’ll enter NetID password as Password prompt, then 6-digit Google Authenticator one time password at the Verification prompt.Enter the 6-digit code without any spaces even if Google Authenticator shows a space in the number string.